
MEMBERS ONLY: To gain full access to the Half Yard Club projects please login or sign up
Quilt Block Fabric Bowl | Patchwork Week
Easy |

Quick Links: What you'll need Project steps
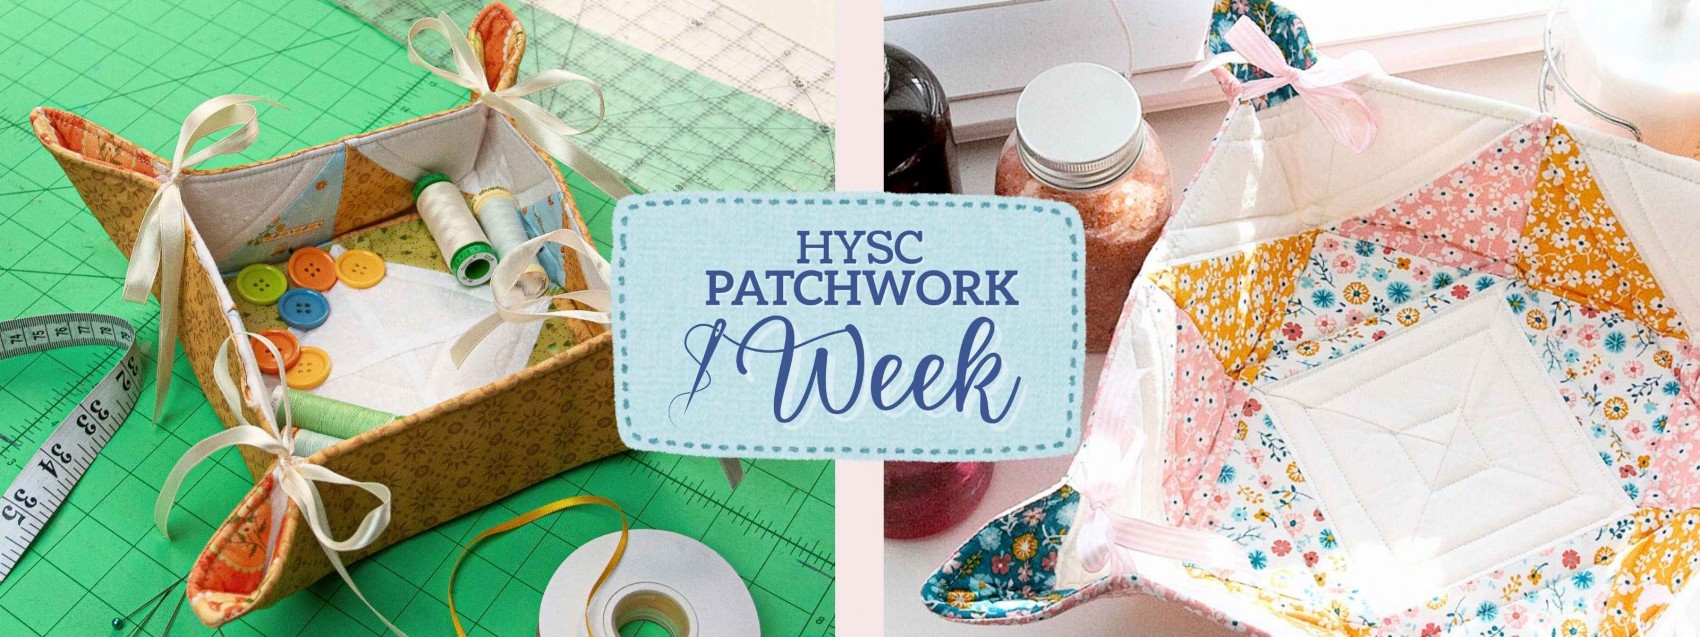
Designer and Half Yard Sewing Club member Chrissy Yeomans has breathed new life into our quilt block storage bowl.
With our easy-to-follow tutorial, you’ll learn how to turn a simple quilt block into a versatile fabric bowl, perfect for storing your essential bits and pieces. This project is ideal for beginners and can be repeated using many of the 'Block of the Month' quilt blocks we have available here in the archive – for this one, we've used our Diamond Block. Don’t forget to coordinate ribbon ties with your chosen cotton fabrics for a polished look!
Use a ¼” (5mm) seam allowance.
Tips and Techniques
- Using a ¼” (5mm) seam allowance ensures your quilt block maintains its shape and the finished bowl looks neat.
- Don’t hesitate to use different quilt blocks for a set of bowls – this creates a colourful, eclectic storage solution.
- Coordinate ribbon ties with your chosen cotton fabrics for a polished look!
- Choose medium-weight cotton for both the quilt block and lining to help the bowl hold its shape.
- Beginner-Friendly: No advanced techniques required – perfect for anyone new to sewing.
- Practical and Decorative: Use the fabric bowl to store notions, keys, or other small essentials while adding a handmade touch to your home.
- Creative Freedom: Every quilt block is unique, so each bowl is a one-of-a-kind piece.
- Sewing machine
- Iron
- Diamond block (or another block of your choice)
- 12in (30.5cm) square piece of backing fabric
- 12in (30.5cm) square piece of single sided fusible foam stabilizer
- Eight 6in (16.25cm) lengths of ribbon
Why You’ll Love This Project
MEMBERS ONLY: To gain full access to the Half Yard Club projects please login or sign up
You will need:
Equipment
Materials
MEMBERS ONLY: To gain full access to the Half Yard Club projects please login or sign up
Project steps:
Step 1
This is content that only logged members can see! Please create an account or login to be able to view project steps, otherwise you'll be limited to non-member content.
This is content that only logged members can see! Please create an account or login to be able to view project steps, otherwise you'll be limited to non-member content.
Step 2
This is content that only logged members can see! Please create an account or login to be able to view project steps, otherwise you'll be limited to non-member content.
This is content that only logged members can see! Please create an account or login to be able to view project steps, otherwise you'll be limited to non-member content.